The Seesaw website has a lot of description and videos to give you a tour of the app.
If you browsed through their website, you might have notice the PRICING bar. I am using the free version which seems to be enough for what I want to use it for. The only feature which I might be interested in the pais version is the Formative assessment option but after looking at it, it does not match the MFL specification enough.
So open an account, it is free.
Once you are in, you will be asked to enter the name for your class. So in my case, I have called them following our VSWARE pattern. You are now ready to get students to join. You have several ways of doing it, you can print the QR code which students then scan or you can give them a code (similar to Edmodo for those familiar) to join in.
What I really like with apps like Edmodo and Seesaw is the link to the family. The parent/ guardian of the student will be able to see all his/her work and only her work. It is a good way to keep parent / guardian in the loop and I feel it increases the student's motivation.
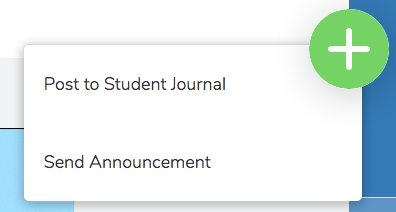
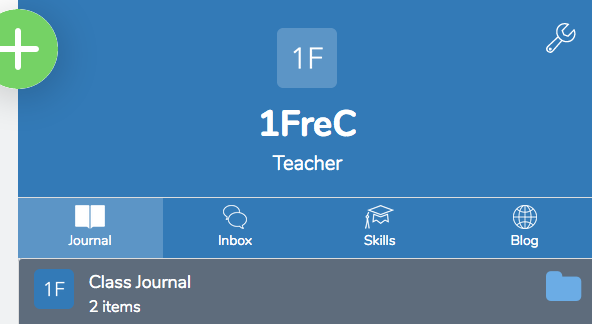
The big green + is the tool to add something to the students' journal. The journal is where all the work is displayed after your approval.
So as my first post, I wanted to welcome the students to the class, so i decided to add a Welcome photo.
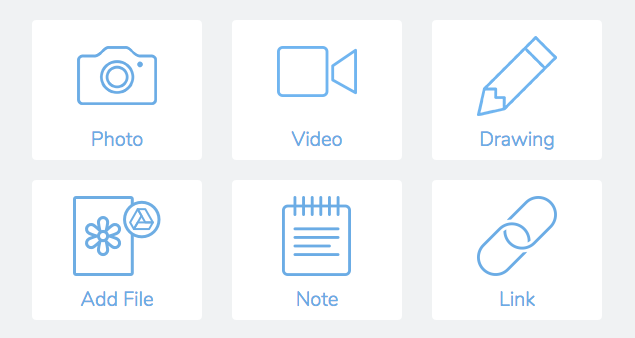
I clicked Post to Student journal and followed the instructions. If you click Photos - it will bring you to take a photo live, so any upload click the ADD FILE. You can add a sound file to it, annotations, labels, captions etc... A list of tools appears at the bottom. So overtime if you want to share a link to a website, upload notes etc... you can add it to the student's journal. You can either send it to all the class or the one student.
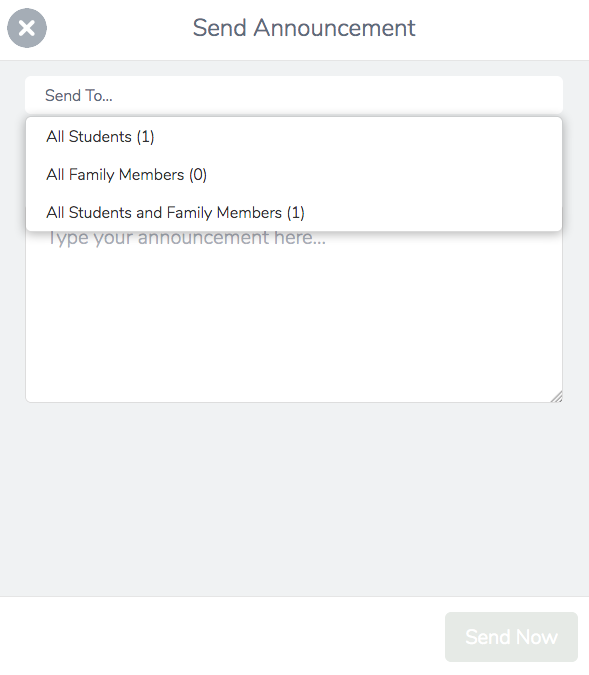
You can also send announcement to the class or the class and family. These do not appear in your journal feed.
Organisation using folders
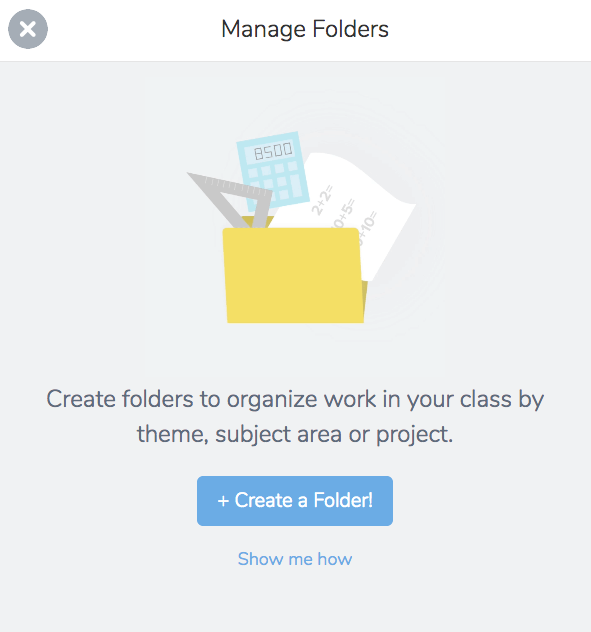
As you can guess, it would not be manageable without folders to file work in ways which work for you. So you can create folders. Just click on the blue folder account (right hand side)
Like everything else, there are a video tutorials available but it is quite straight forward.
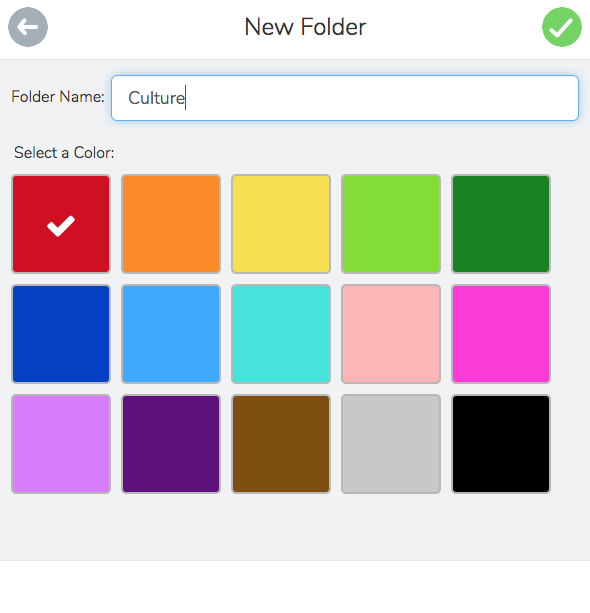
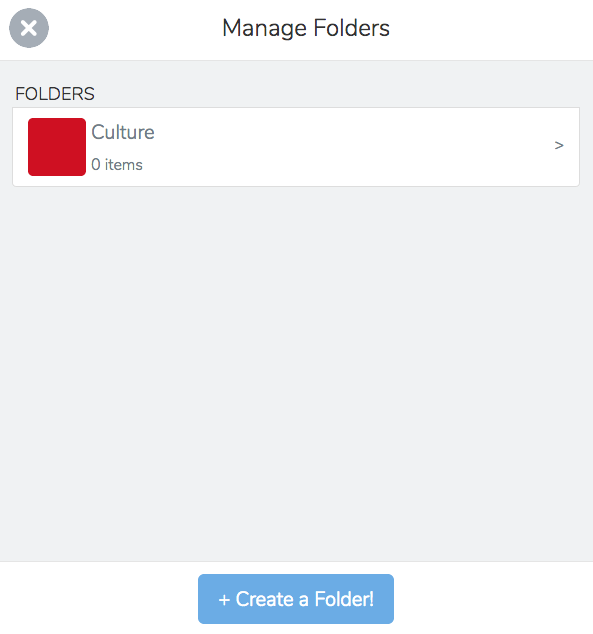
Click create folder and you can name it, choose a colour. So for example I called one Culture.
So remember, I uploaded a picture in the journal to welcome the students. So if I wanted this work to be filed in my folder culture, I can go back to the picture/file etc... and at the bottom of that file, I can see this:
Click on the ... and you will get a menu. Select Edit folders. Your list of folders will appear and you can tick the ones it relates to. The work will automatically be placed in the folders for you to find.
At the moment, I have not made a final list of what my folders will be. I will have ones for useful videos (where I will have videos students can watch to reinforce learning such as grammar explanations, examples of use etc...) but I think I will know more once I actually start teaching the new spec and get a feeling of what works best.
At the moment, I have not made a final list of what my folders will be. I will have ones for useful videos (where I will have videos students can watch to reinforce learning such as grammar explanations, examples of use etc...) but I think I will know more once I actually start teaching the new spec and get a feeling of what works best.
At this stage you are probably wondering what it is like for the student. Ill do that in my next post.

 RSS Feed